Instructions
How to Make Custom Counters
1. Open the desired picture file in Adobe Photoshop.
2. Use the rectangular marquee tool on the toolbar and the Crop command in the Image menu to cut
out the desired image from its margins. Your counter is likely to be smaller than its original
picture file, so in order for it to be legible, you should generally eliminate as much
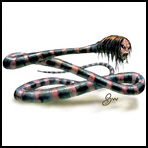
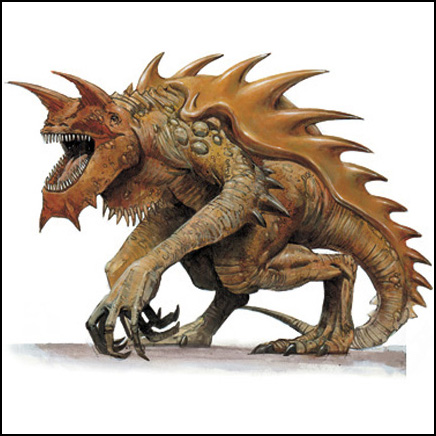
extraneous visual information as possible. While this isn't such a big problem for larger
counters, such as this naga...
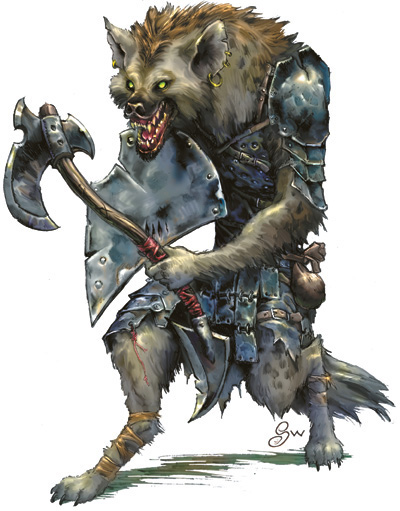
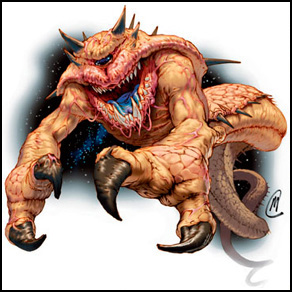
...smaller counters, such as this gnoll, often need to be trimmed considerably to remain
recognizable at a size of only one inch. You may also want to adjust the image's brightness in
the case of some darker pictures. You can do this by going to the Image menu and selecting
Adjustments, then Brightness/Contrast. In the end, this is a matter of personal taste.

Here's the original gnoll picture for comparison:
3. Once you have the image you want on your counter, use the Copy command in the Edit menu to
enter it into the buffer.
4. Select the New command in the File menu to create a new file. The default dimensions should
appear on your clipboard and should be those of the image now in the buffer. Alter them if
necessary so that the width and height are exactly the same, the resolution is 72 dpi, and the
background is white. Then click OK. You don't need to name it yet. The requested white square
should appear on your clipboard.

5. Use the Paste command in the Edit menu to copy your image from the buffer into the white
square.
6. Click on the Image Size command in the Image menu. The current image's size should appear on
your clipboard. Alter it according to the size of the desired counter. If you're not sure how
big your counter should be, consult the table below:
| Size |
Inches |
Example |
|---|
| Tiny or smaller |
1/2 |
Stirge |
 |
|---|
| Small or Medium |
1 |
Intellect Devourer |
 |
|---|
| Large |
2 |
Wyvern |
 |
|---|
| Huge |
3 |
Gelatinous Cube |
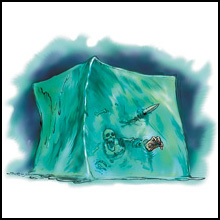 |
|---|
| Gargantuan |
4 |
Astral Dreadnought |
 |
|---|
| Colossal |
6 |
Tarrasque |
 |
|---|
7. Use the Save As command in the File menu to save the image as a JPEG file. You can name it
after the character or monster.
8. Outline the entire image with the rectangular marquee tool on the toolbar and use the Copy
command in the Edit menu. Close the file.
9. Click on the background color on your toolbar and change it to black (000000).
10. Select the New command in the File menu to create another new file. The default dimensions
should appear on your clipboard and should be those of the image now in the buffer. Add 4 dpi to
both width and height. Instead of white, select the background color (which should currently
be black) for the file. Then click OK. You don't need to name it. The requested black square
should appear on your clipboard.

11. Use the Paste command in the Edit menu to copy your image from the buffer into the black
square.
12. Click on the Save As command in the File menu. The destination to which you just saved the
last new file should appear on your clipboard. Click on the JPEG file with the name you chose,
should appear in the white field below. Now click OK to save and OK to overwrite the previous
file. Your counter is finished!
Dungeons & Dragons is a registered trademark of Wizards of the
Coast, Inc., a subsidiary of Hasbro, Inc.